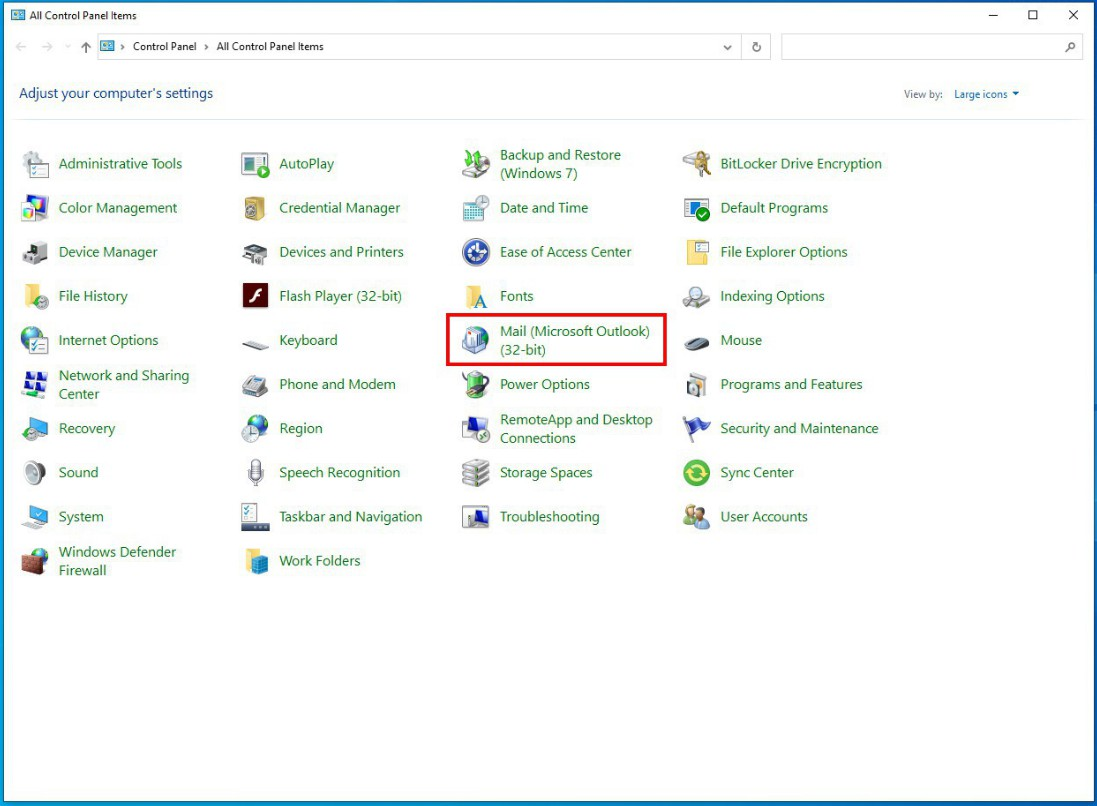
Step1
เลือก Control Panel และเลือก “Mail (Microsoft Outlook)”
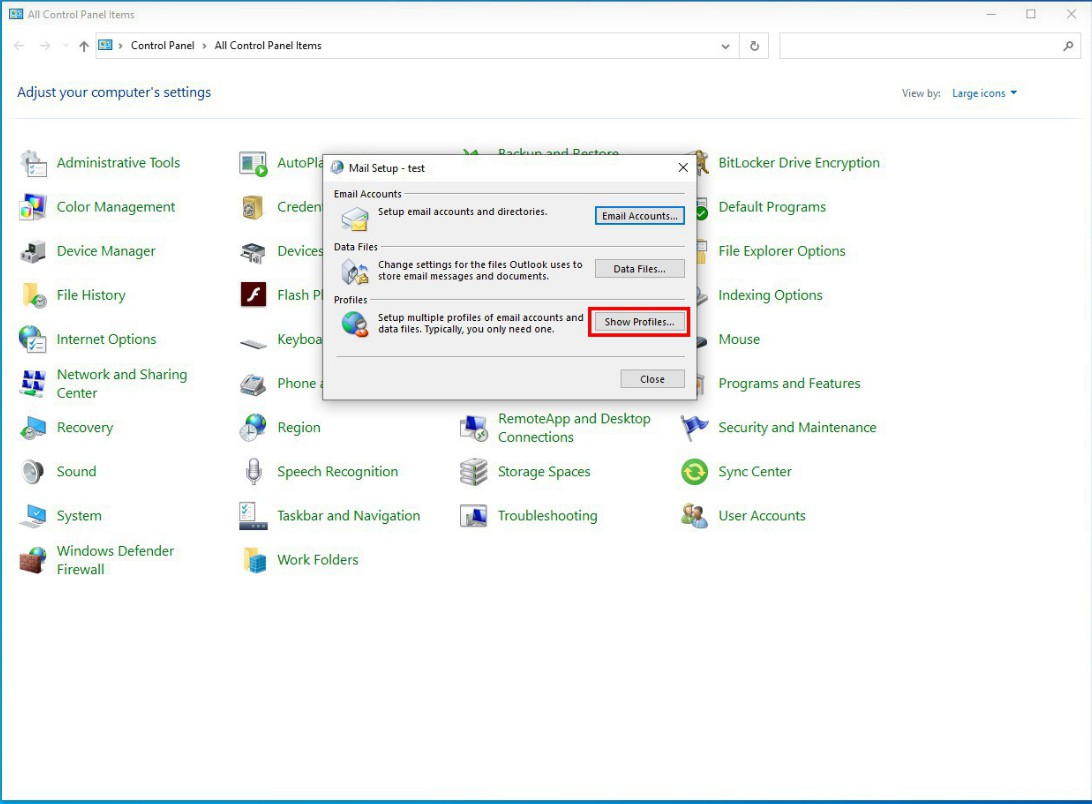
Step2
ใน “Mail Set up” เลือกกด “Show Profiles"
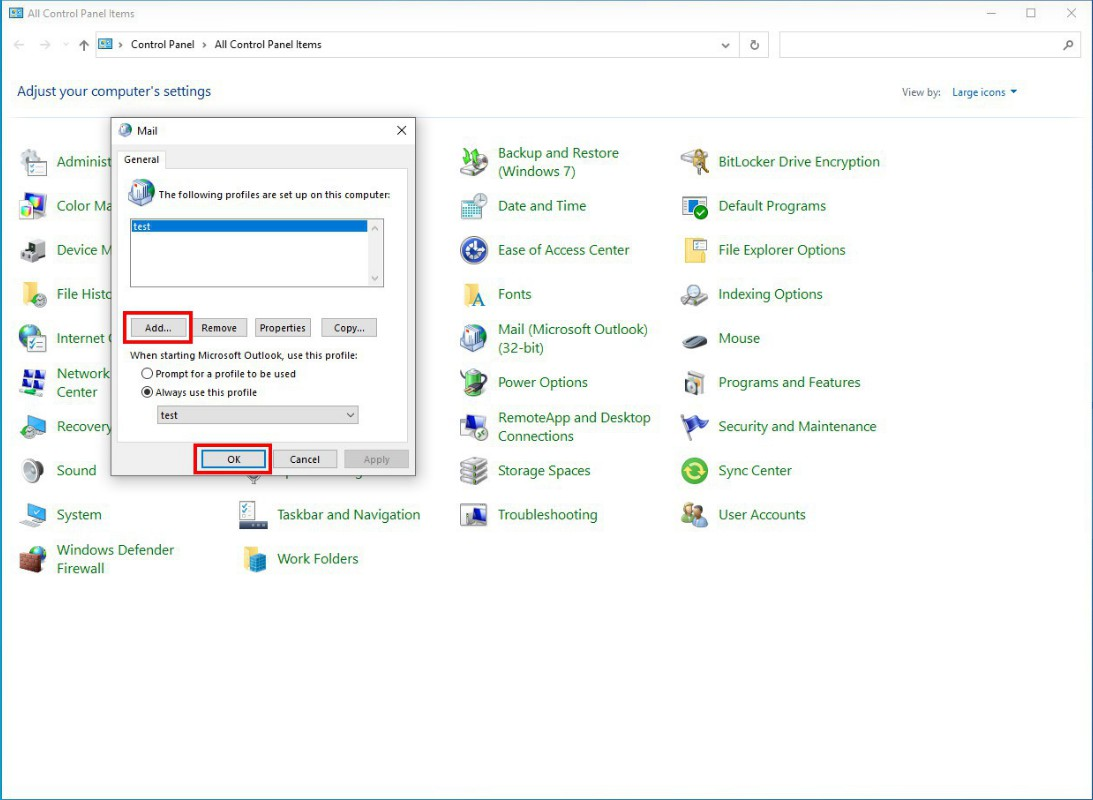
Step3
เลือก “Add” หลังจากนั้นคลิก “OK”
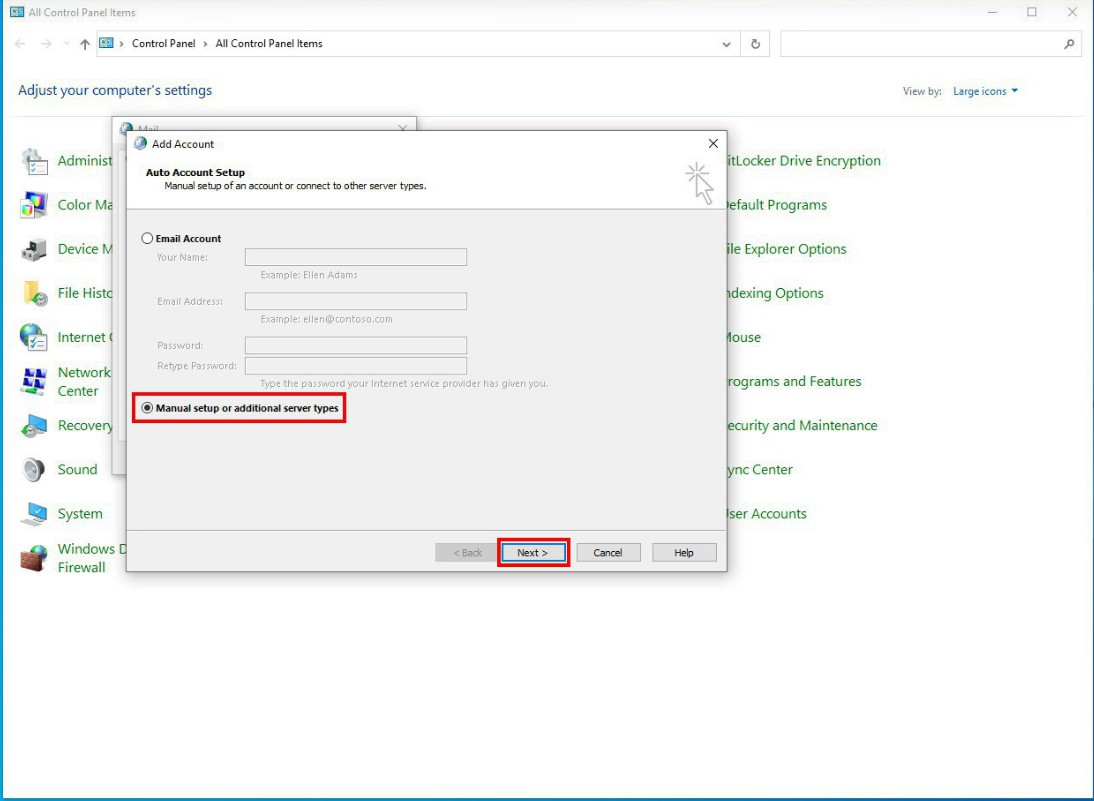
Step4
เลือก “Manual setup or additional server types” และคลิก “Next”
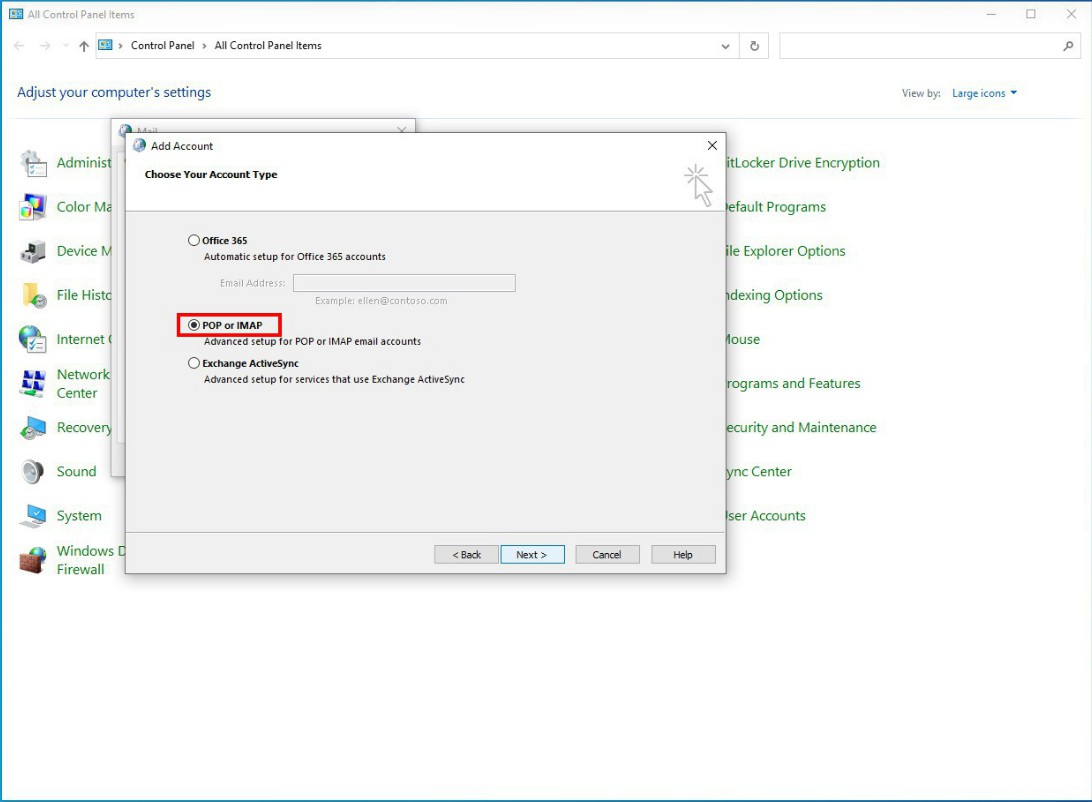
Step5
เลือก “POP or IMAP” และคลิก“Next”
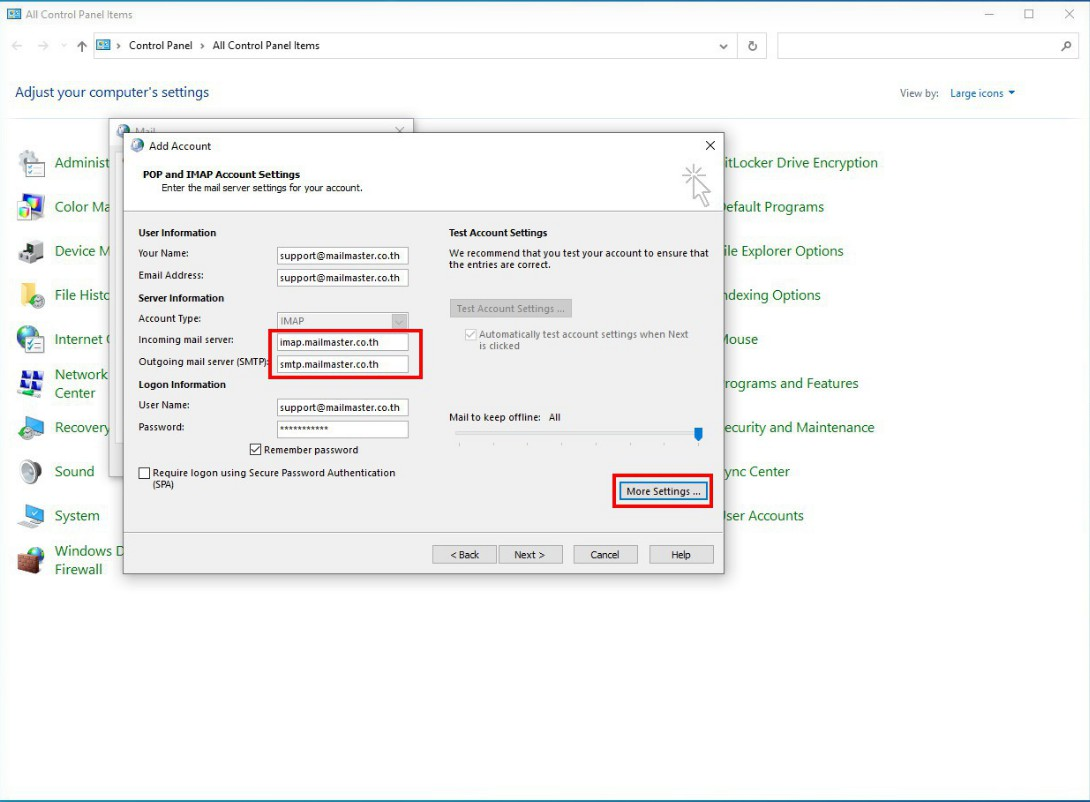
Step6
The POP and IMAP Account Settings window will appear then fill in all the details as follow:
Your Name: fill in your name
Email Address: fill in your email address
Account Type: type “IMAP”
Incoming mail server: type “imap.mailmaster.co.th”
Outgoing mail server: type “smtp.mailmaser.co.th”
User Name : fill in your name
Password: fill in your password
หลังจากกรอกข้อมูลเสร็จคลิกclick“More Settings”
Step7
จะปรากฎหน้าต่างจากนั้นคลิกที่ “My Outgoing server” (ดังภาพ) จากนั้นเลือก “Advanced”

Step8
On the Advanced menu, fill in port number as follow: Incoming server: 993 SSL Outgoing server: 587 STARTTLS
หลังจากนั้นคลิก OK

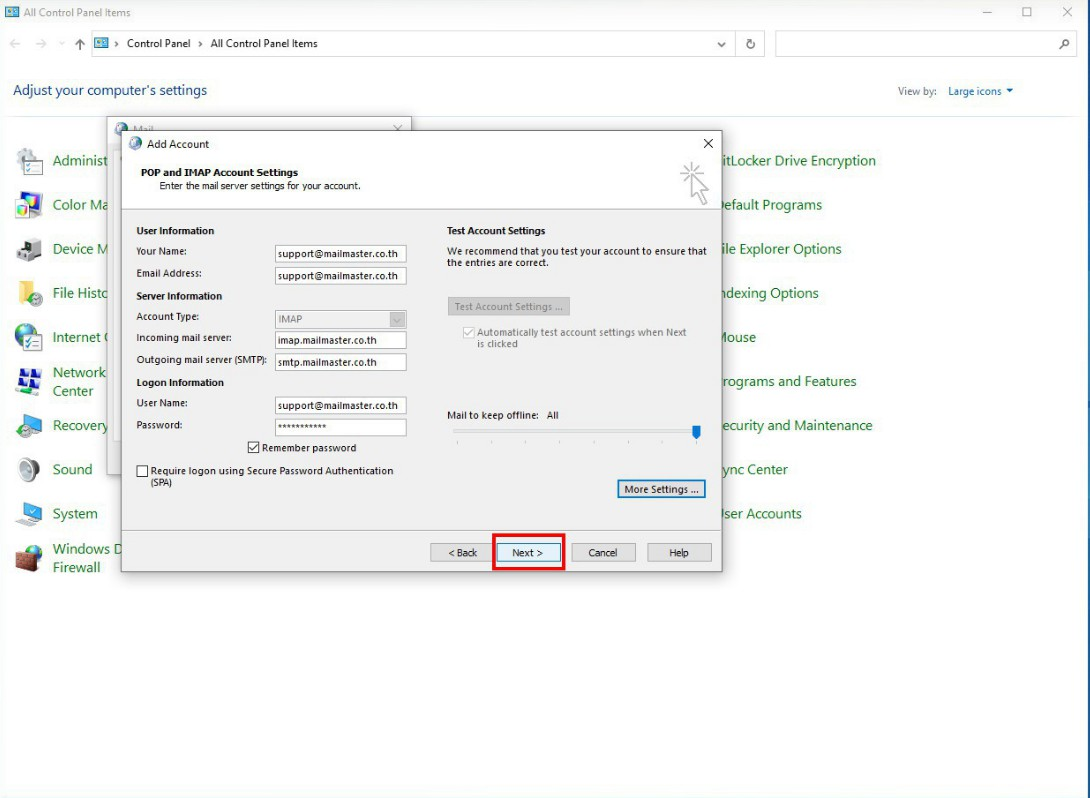
Step9
กลับไปที่ the POP and IMAP Account Settings หลักจากนั้นคลิก “Next”
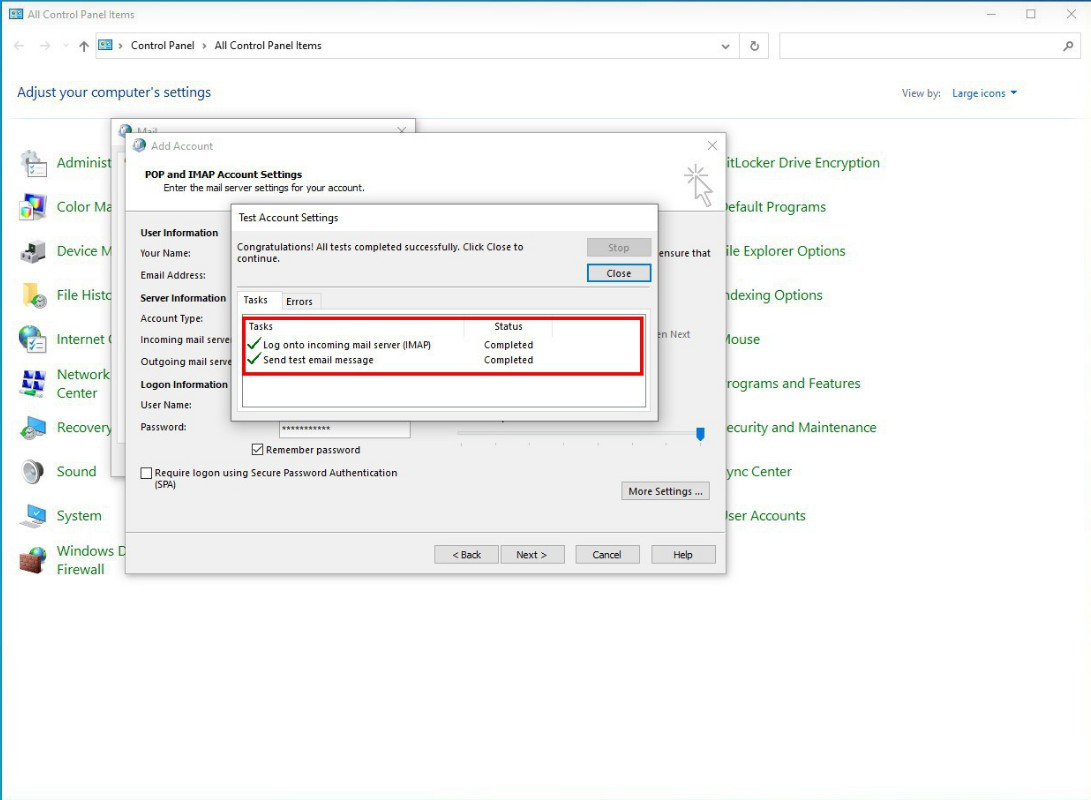
Step10
ตั้งค่าบัญชีทดสอบจะปรากฏขึ้นเพื่อตรวจสอบว่าคุณกรอกรหัสผ่านถูกต้องหรือไม่ หากรหัสผ่านถูกต้องให้คลิกที่ “ปิด”
Step11
กด "Finish"

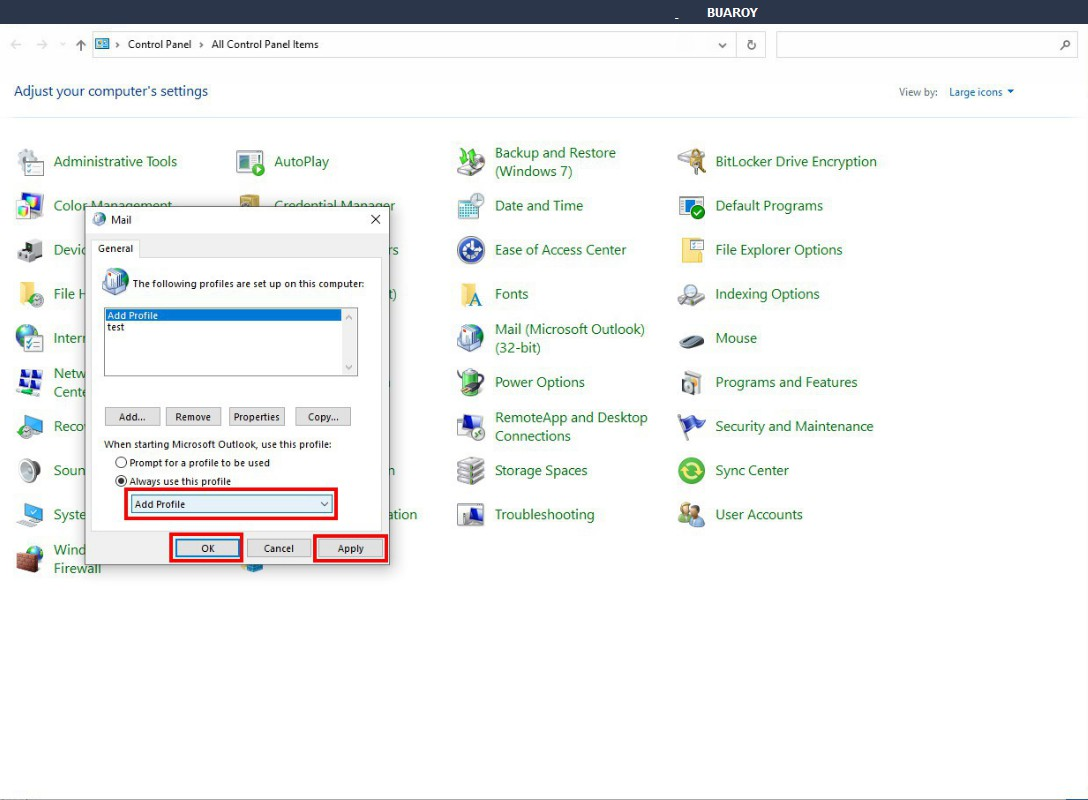
Step12
กลับไปที่หน้า Control Panel หลังจากนั้นเลือก “Mail (Microsoft Outlook)”

Step13
คลิกที่“Show Profiles”
Step14
เลือก Profile กดที่สร้างและคลิก “OK” "APPLY"